At first, I was unsure whether I wanted to complete Project 2 because I did not think of cardboard as a strong construction material. However, after spending some time learning how to build with cardboard – through the examples and videos provided by the professor and GSI – and coming up with some prototypes I could actually sit on, I decided it would be a good idea to build a cardboard stool.
My primary areas of focus for building the stool were structural efficiency (using a minimal amount of material) and assembly (requiring a minimal amount of separate pieces and cutting effort).
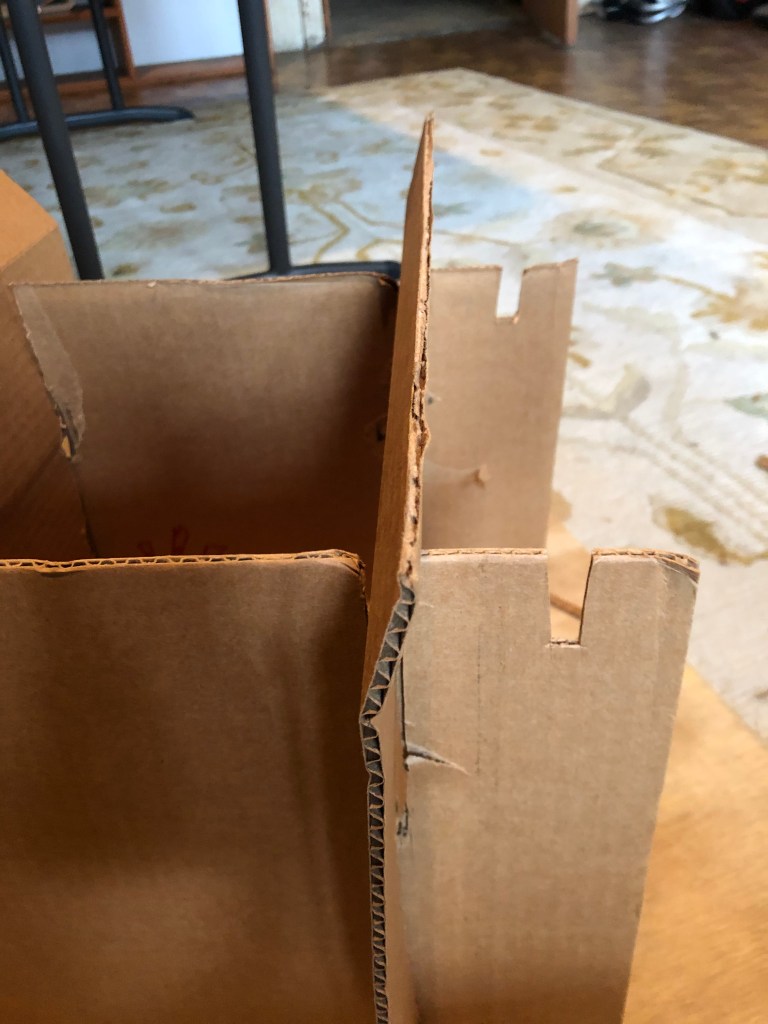
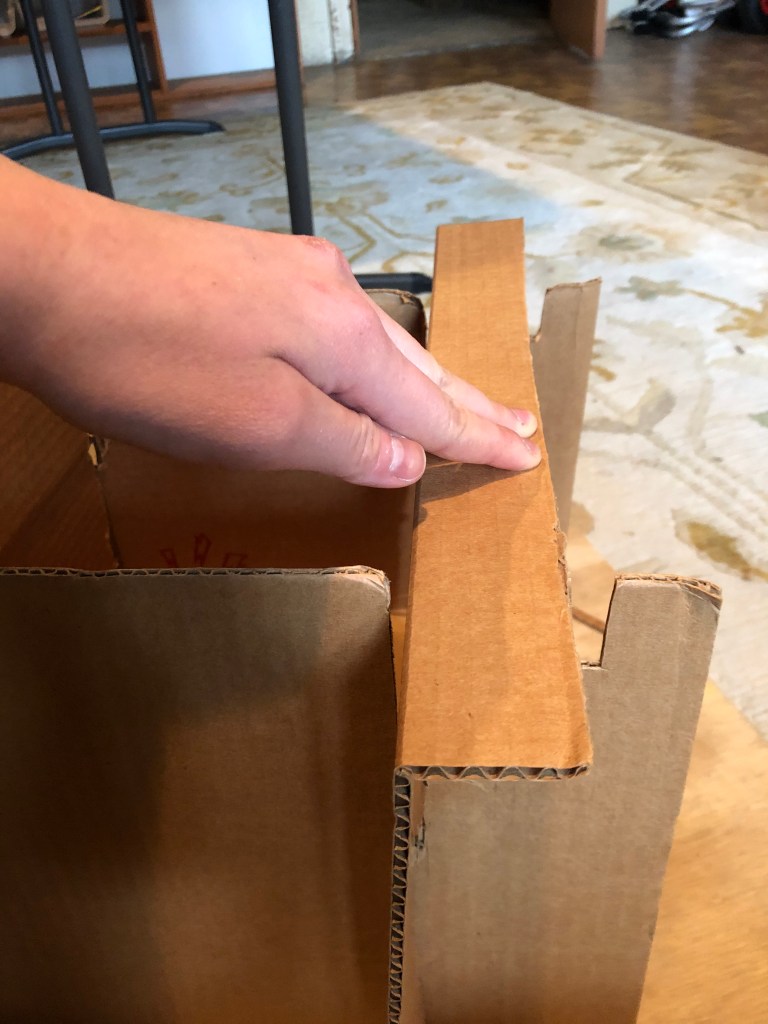
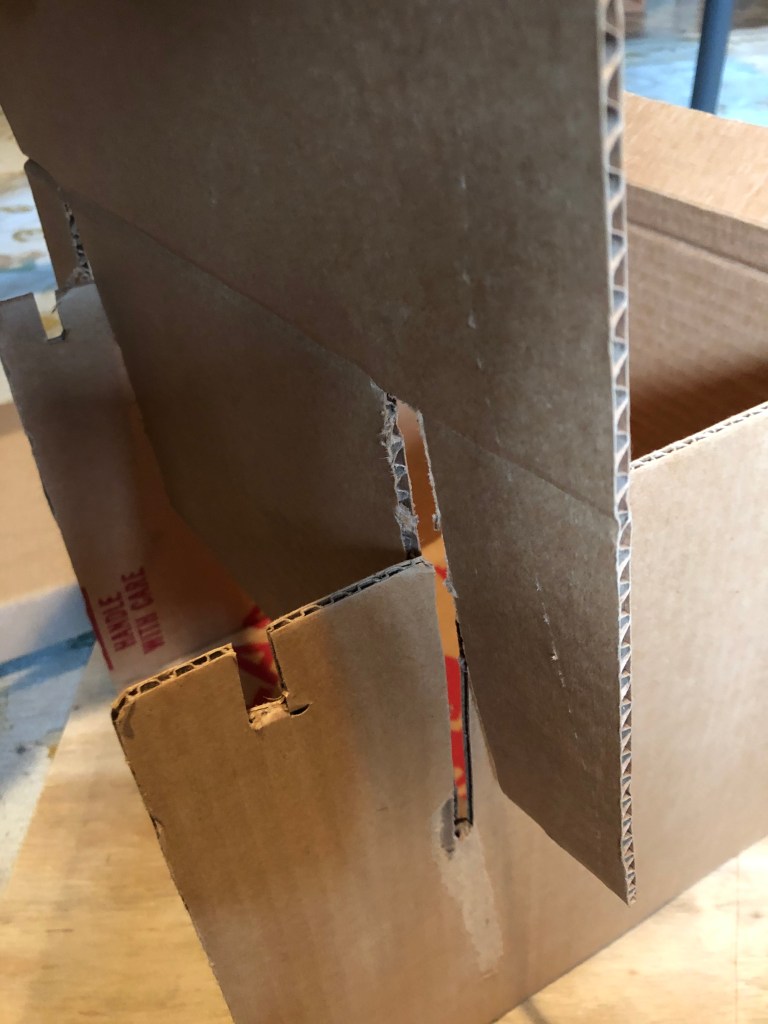
Through prototyping, I came to appreciate the strength yielded by sliding separate pieces perpendicular to each other into cut slits. As pictured below, such technique is used for placing the two inner panels of the final stool. The two inner panels serve as primary load-bearing structures of the stool and for preventing the base of the stool from unfolding.
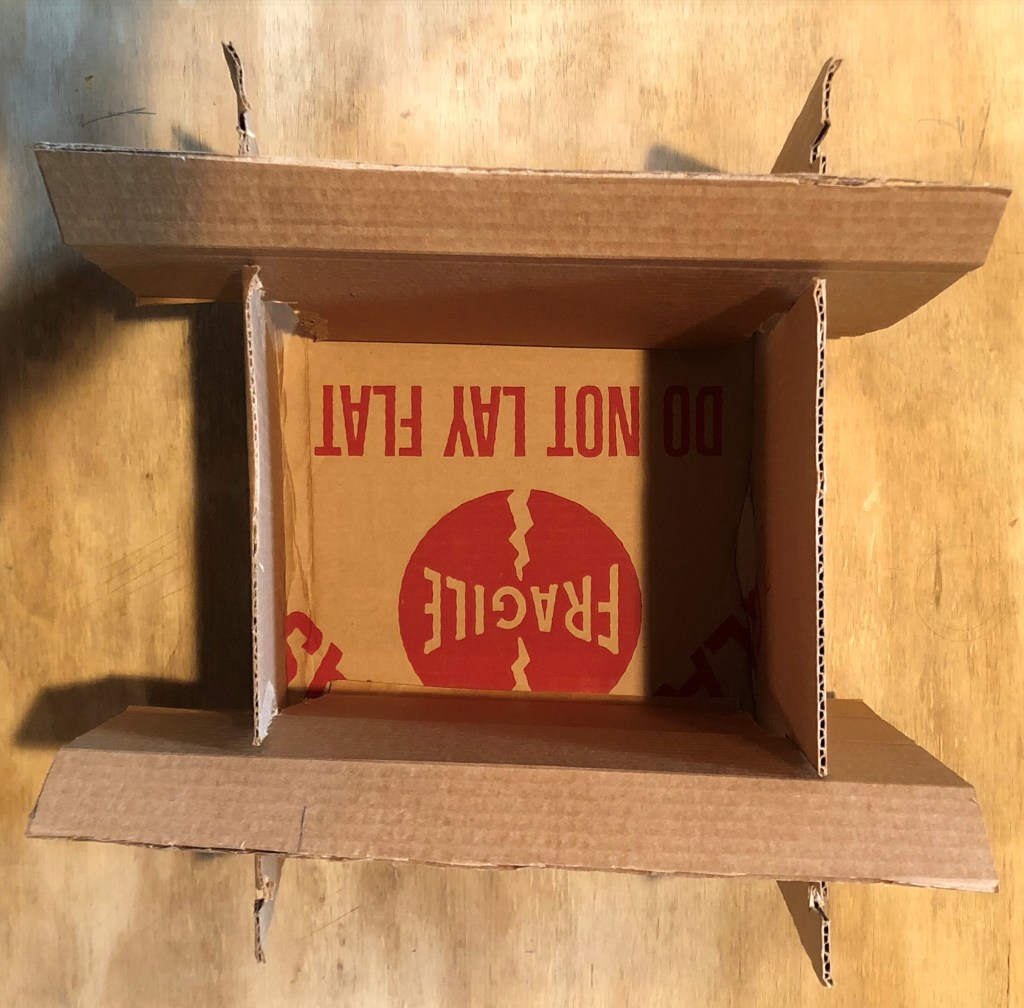
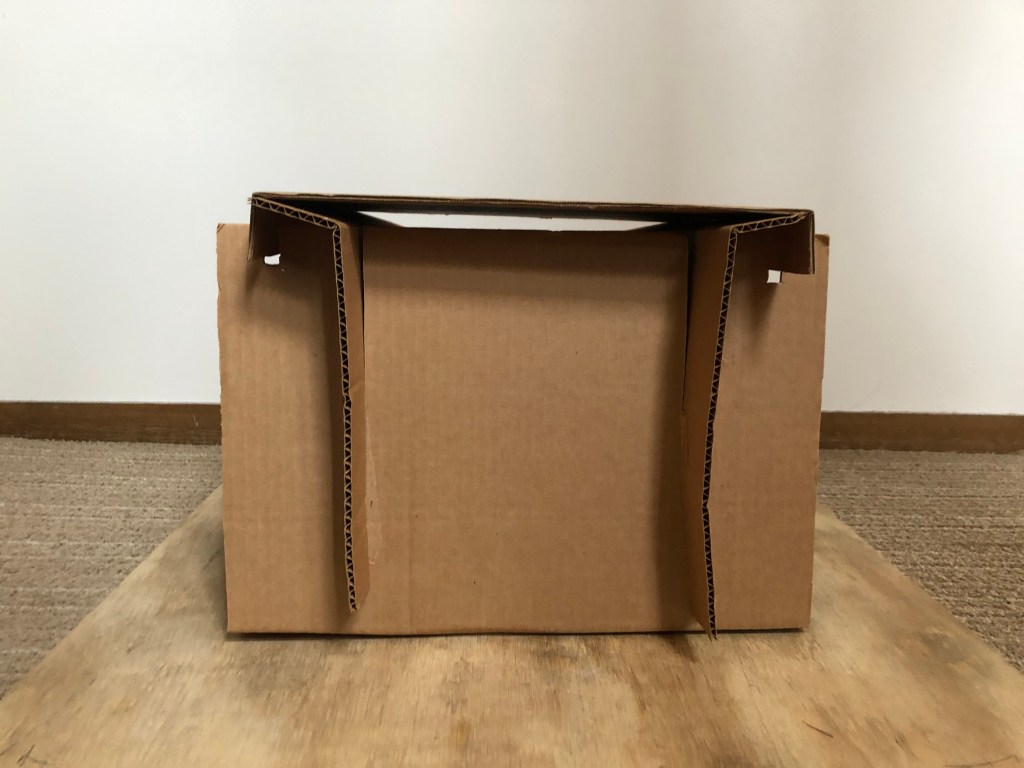
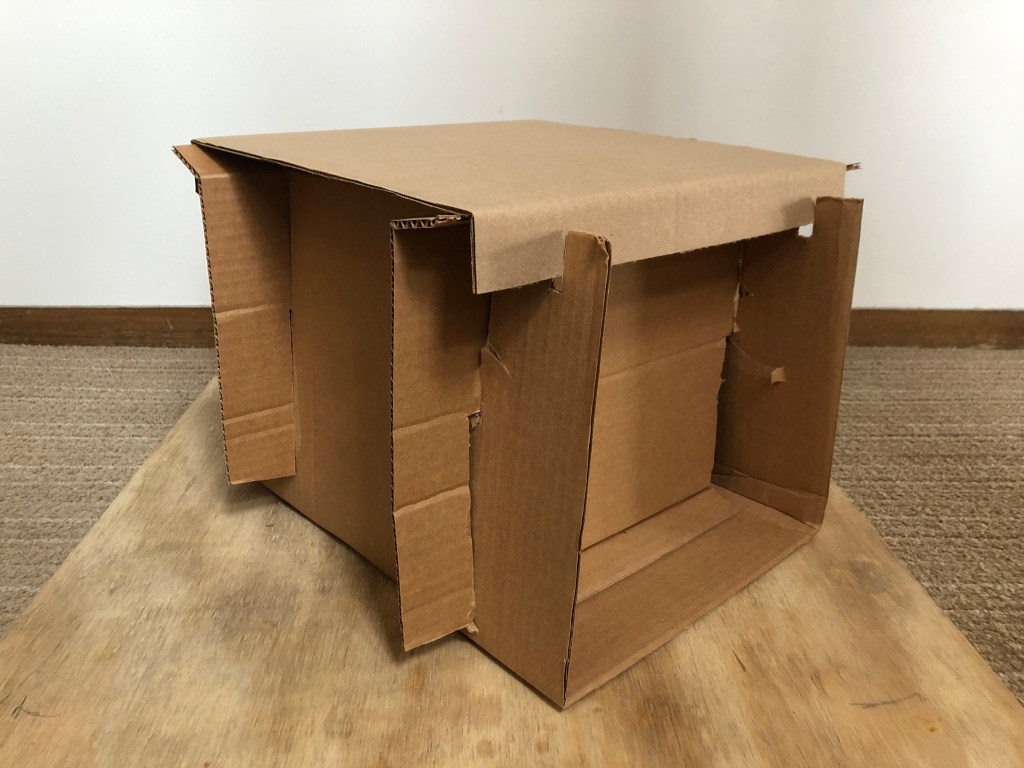
Through another prototype, I ended up creating a base that was easy to make which was made of a single long, uncut piece of cardboard bent into a U shape (as pictured below). The main issue I encountered while making the base was that, without crossbars (structures perpendicular to the upright edges of the base, the base would wobble from side to side. To fix this, I decided to add 2 inner panels perpendicular to the upright edges of the base so that the base would not wobble and un-bend.
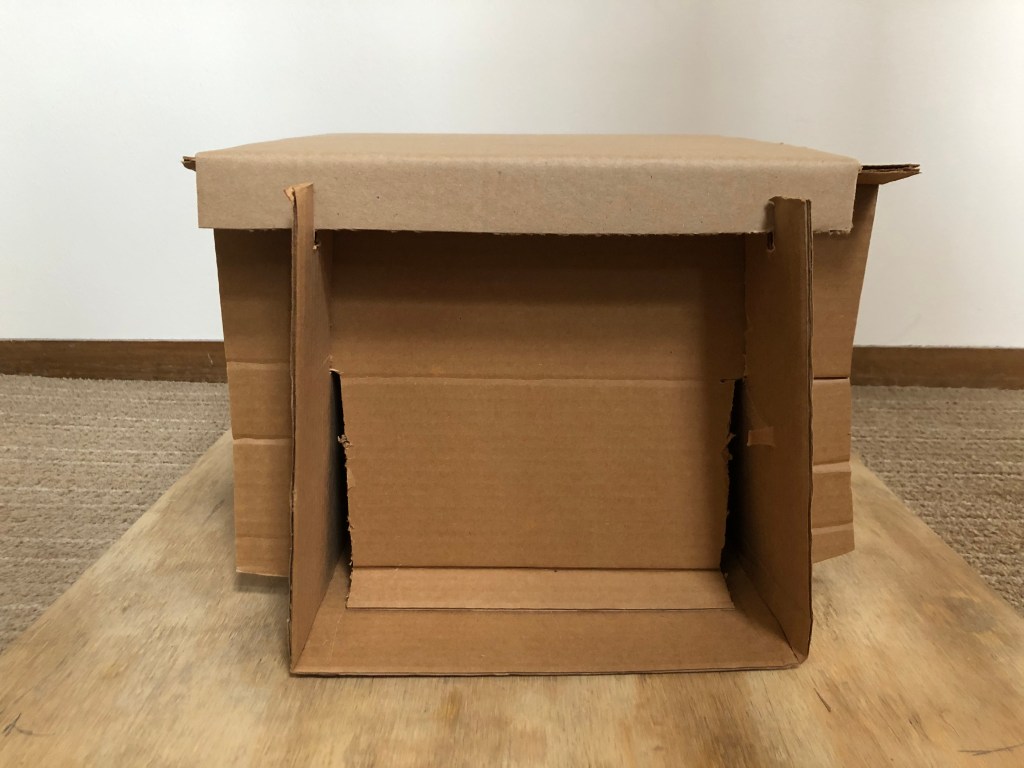
Once I had a sturdy base, the final challenge I worked through was adding a seat cover. Initially, I could not figure out how to place a levelled seat cover without having to make notches that would discomfort the seater or cuts that would weaken the structural integrity of the base (problems that I encountered with earlier prototypes). It wasn’t until accidentally forcing down an uncut sheet of cardboard on top of the inner panels, whose edges stood slightly higher than the U-shaped base piece, that led to the panel edges folding downwards and made the cover level to the edges of the U-shaped base. The folded edges, I realized, also provided a greater surface area that could support higher weights. Once the seat cover was level, all that was needed to secure the cover in place was a few notches along un-cut parts of the base.